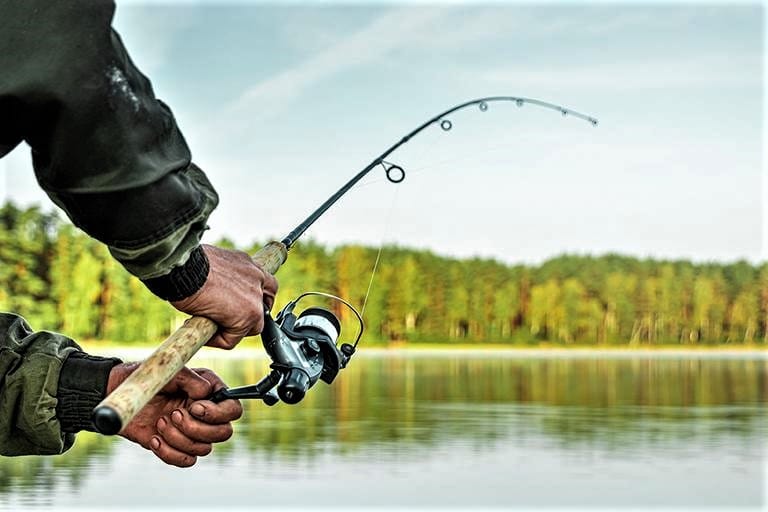
Every experienced angler was once a beginner with no fishing skills. You shouldn’t feel bad if you don’t know some of the basic stuff about fishing. To make you a better fisherman from a beginner, we will teach you how to line a fishing pole step by step. Lining a pole is a simple task which anyone can learn after a few practice sessions, and in no time, you will be good to go with your setup.
The fishing pole line requires a few steps, which we will go through in detail shortly. There are also a few types of fishing lines that a person can choose from. The three major types of fishing lines are; Monofilament, Braided line, and Fluorocarbon. We will briefly go through the uses of these lines after a thorough tutorial on how to thread a fishing pole.
How to String a Fishing Pole
Before lining a fishing pole, there are several steps you have to take to complete your fishing setup. First up, you’ll need to complete a checklist of items which includes:
- Fishing pole
- Fishing reel
- Fishing line
- Fishing hook
- Bait or lure
After you’ve picked up all the main items from the checklist, only then will you be able to move forward in this guide.
Fishing poles come in several variations. Their strength, size, and weight are different and meant for a specific scenario, waterbody, or fish type. Usually, spinning rods are more suited for newbies. You can even opt for casting rods or flying rods if you have bagged some experience. But still, it’s highly recommended to go for a spinning rod until you’re familiar with almost everything fishing-related.
Fishing reels are cylindrically shaped devices that you attach to your rod. The reel holds the line; therefore, it’s a vital part of this guide. Casting and reeling in your line are all through the spool and the handle of the reel. The reel is attached to the reel seat section of the fishing rod. There are several kinds of reels, but it’s safer to get something suitable for a beginner.
The fishing line is the focal point of this article. There are three major types of lines used by anglers all over the world. We have already mentioned what these lines are, but we’ll get into further detail after teaching you all about lining. Fishing lines play a prominent role; it helps suspend the bait further from the angler and reel in the fish.
Lastly, you need a fishing hook attached at the end of your hanging line off the tip of your angler rod. There are plenty of ways in which you can tie a knot to the fishing hook. What you choose is based on your skill and ease. With the hook, you would need bait or a lure. Bait is something the fish eats, like worms and crickets, whereas lures are shaped like things that attract a fish. Lures even move in certain motions to grab the attention of a fish.
With all of these things, adding weight and bobbers will make it easier for beginners. Other than that, you’re all good to go and now learn how to line a fishing pole.
Step 1- Setting up the Fishing Rod:
First and foremost, you will need to set your fishing rod. The first simple step is to clean up your fishing pole properly, so it’s clear of any dust or debris and safe to use. Secondly, a fishing rod can arrive as a single piece, retractable, or several pieces. If it is retractable, you’ll only need to extend it to open it up, whereas if it’s in parts, you can follow the instructions to arrange the rod. Make sure the eyelet guides are correctly in line.
Step 2- Attaching the Reel on the Rod:
Next up, you will locate the reel seat on your fishing rod. The reel seat is usually around the handle of the rod. You can quickly shift the reel onto the rod and clip it firmly so that it’s stably set on the pole. Many reels are left and right-handed, so depending on your stronger side, you can attach the reel on that side of the fishing rod.
Related Also: Best Fishing Backpack
Related Also: Best Polarised Fishing Sunglasses
Step 3- Lining a Fishing Pole:
Here we are on the main section of this step-to-step guide for beginners. Now that your fishing rod is set and has the reel attached to it. You can unwind some of the fishing lines off your line barrel and start making it through all the eyelet guides on your fishing rod, starting from the tip.
On your reel, you will notice a D-shaped handle which is called bail. You can flip the bail open only then you’ll be able to apply the line properly on the spool. Once it is open, grab the line that you passed through the guides and now tie a knot on it. You can use different kinds of knots, but the most popular one is the arbor knots, and it’s also an excellent option for beginners.
First, you will have to tie an overhand knot. The knot should create a loop big enough to fit around the reel easily. After wrapping the circle around the spool, you will further tie two more slipknots to make it tight. This will allow you to pull the loose end to make the knot tighter around the spool. This is a great and easy method that can also be used when tying a knot on the hook. You can then cut off the leftover loose end line.
All you need to do now is make sure the line is freely hanging and not tumbling from the barrel. An easy trick is to flip the line barrel over to allow the string to come off more smoothly without any tangles. Now you need to hold the rod and reel in the line by spinning the reel handle counterclockwise. Do this until the spool is almost 8th of an inch away from the spool frame. You don’t want your line to overflood the spool. After that, you need a nail clipper or scissors to cut off the line from the barrel.
And that’s how you add lining to your fishing pole.
Step 4- Attach the Hook:
Your fishing rod is complete with the reel and line on it. All you need to do now is attach a hook at the end of the hanging line and then put a bait or lure on it. The hooks come in different shapes and sizes, but beginners can go for something lighter and easier to maneuver. Bypassing the line through the small hole of the hook, you can tie a firm knot and tug on it a few times to make sure it’s firmly on the line.
All that’s left to do now is to add a lure or bait on the hook. You can even add bobbers and weights to your line; this helps make fishing more straightforward and is recommended for beginners.
That’s the complete step-by-step guide on how to reline a fishing pole, and you’re all good to go to your nearest lake. A few practice sessions will make you look like a fishing rod setup veteran.
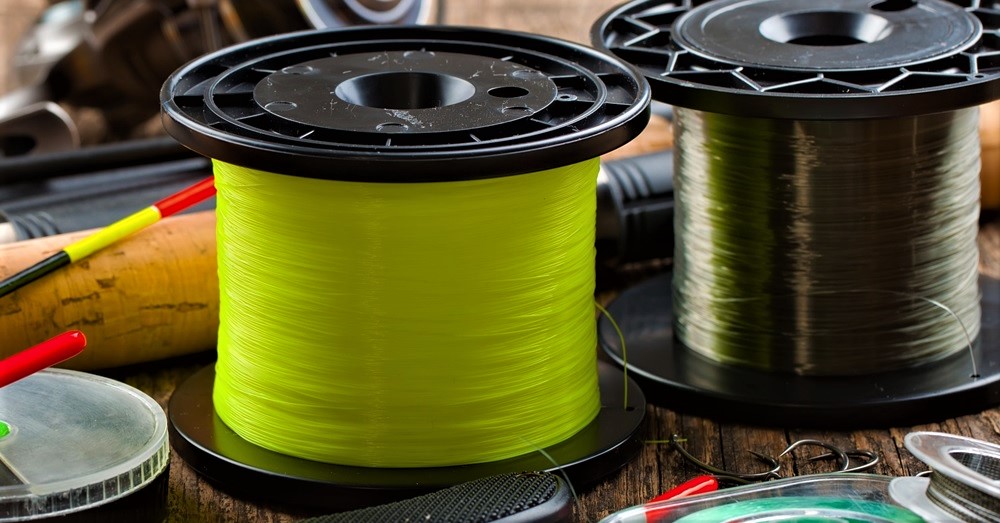
Types of Fishing Lines
Monofilament:
The first type of line that a lot of anglers use is the monofilament. This line is made out of pure nylon. As its name suggests, it’s only a single filament line. Monofilament lines are inexpensive and by far the most used ones. They come in different colors and strengths. Monofilament lines are lightweight, and they quickly wrap around a spool. It is also reasonably easy to tie knots with these. Due to its inexpensiveness and easy controllability, a lot of anglers use this when saltwater fishing.
Monofilament lines have lower diameters and therefore are not that strong to catch heavily weighted fish. It is also known to break over time. Therefore it’s best to change and renew your mono line from time to time.

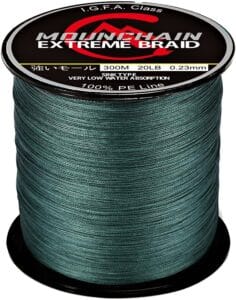
Braided Line:
The second most popular type of line is the braided line. Braided lines are made out of many super-strong fibers mashed together; this allows them to be way more robust than the monofilament line. The diameter is also thicker than the mono line, which makes this line way more visible.
The braided line handles shocks very well and is also quite durable. As we know, it’s very light; therefore, it’s easier to cast it further and deeper. If you ever plan to catch a big fish or an aggressive one, then the braided line is it for you. Braided lines are known to be slippery, so you must learn an excellent sturdy knot tie technique.
Fluorocarbon:
Fluorocarbon lines are not as used as the mono and braided line, but they are still known. Thus we deemed it worthy of mentioning on this list. The fluorocarbon line is relatively new in the market but has improved a lot over the years. It’s the same as the monoline as it only has a single filament.
What makes it stand out is its visibility, it is almost invisible underwater, and that is not at the cost of its strength. The line is also abrasion-free. At first, fluorocarbon used to be a complementing line mainly paired with the braided line, but now many companies sell it as the main line.
Conclusion
Lining your fishing rod is pretty easy; all it requires is some practice, and in no time, you’ll be lining your fishing rod without any hassles. There are plenty of fishing lines to choose from; we ran down some of the major ones to help you determine what’s best suited for your style. We hope that this guide on how to line a fishing pole step by step for beginners sets you on the right track so that you can impress your friends and family on your next fishing trip.


